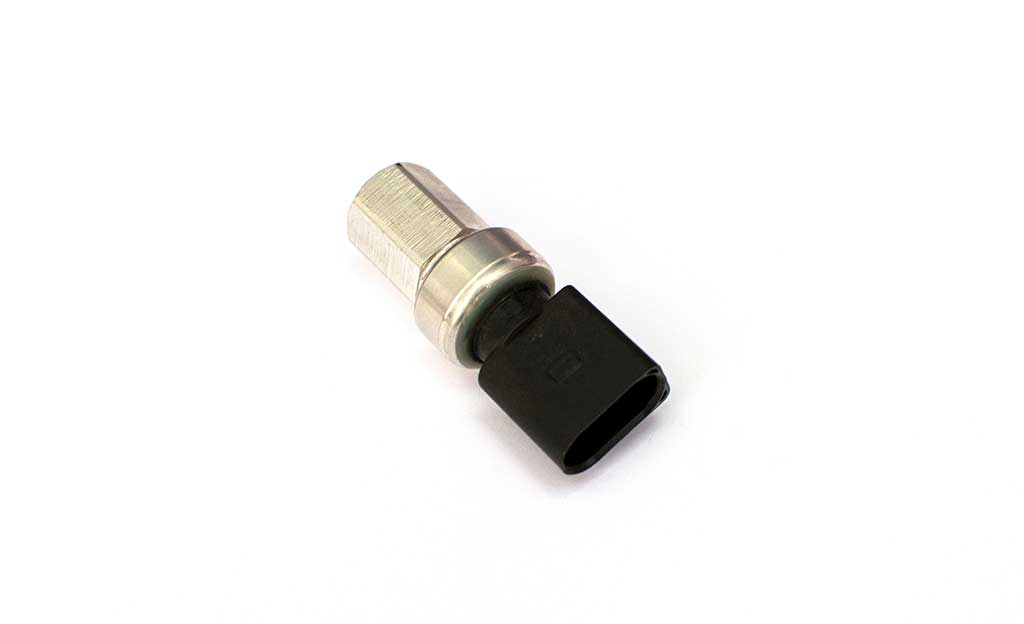
The compressor and the refrigeration circuit in your car’s air conditioning system are protected by two pressure switches. They are the low-pressure switch and the high-pressure switch. When the pressure goes too low, the low-pressure switch turns off the system to save the compressor from damage. Like every part of your vehicle, it has a short lifespan. Here’s a step-by-step instruction to test and replace the A/C low-pressure switch and have your A/C blowing chilly air in no time!
Why Is the Low-Pressure Switch Important?
With a low-pressure switch installed, you can be confident that any problems with your A/C’s refrigerant will be addressed appropriately. It detects issues before they endanger the compressor. So, if your air conditioner is blowing hot air, you should inspect this switch to determine whether it needs to be replaced.
How to Replace Your A/C Low-Pressure Switch?
If you are planning to replace your bad low-pressure switch, follow the below steps:
Get Rid of the Old Refrigerant
The old refrigerant must first be removed from the system. To properly dispose of the refrigerant, the recovery machine’s hoses must be linked to the air conditioning valves.
- Find both high-pressure and low-pressure valves, and then connect the pipes of the recovery machine to them.
- You may easily discover the low-pressure valve by following the longer line that runs from the compressor to the accumulator, which is likely to be near the firewall.
- Then, following the smaller hose from the back of the compressor unit, locate the high-pressure valve.
Swap Out the Switch
To determine the precise location of the air compressor switch, consult your owner’s manual. Follow these methods to get rid of the switch once you’ve located it:
- Smoothly remove the switch from its setting by unscrewing it.
- Before continuing with the process, make sure the new part is compatible with the old part.
- Replace the rubber ring with a new one, which should be included in the pressure switch installation package.
- Screw the new switch into place, then leave it in the same location as the previous switch.
Dry Out the A/C System
Remove all moisture from the A/C system before adding refrigerant and testing it.
- Install the air conditioning gauge and connect it to the pressure ports described in the first phase of the process.
- Connect the vacuum pump to the gauge and switch on the service valves.
- This procedure is intended to eliminate all moisture from the system and takes around an hour to finish.
Replenish the Refrigerant
Close the service valves on the gauge set and disconnect the vacuum pump once the moisture has been entirely removed from the system.
- Connect a can of refrigerant to the gauge set’s can tap, then open the can and the gauge set’s service valve to fill the system with refrigerant.
- Repeat this step until the system is totally full.
- Referring to your car’s handbook will give you an estimate of how much refrigerant is required.
Testing
Finally, the system should be tested to ensure that everything works properly.
- Simply disconnect all of the pipes and turn off the valves.
- Allow the engine to cool for about 10 minutes before starting the car and setting the A/C on full blast.
- Finally, make sure the air compressor pressure switch is operational.
